SVG to Slides › Docs › User's Guide › The toolbar
The toolbar
- SVG to Slides Chrome extension, version 1.3.0
The toolbar sits at the left edge of the slide canvas. Closed, it is one round button. Click the button or press OPTION+\ to open it. It holds every tool the extension adds to Slides.
The toolbar, closed#
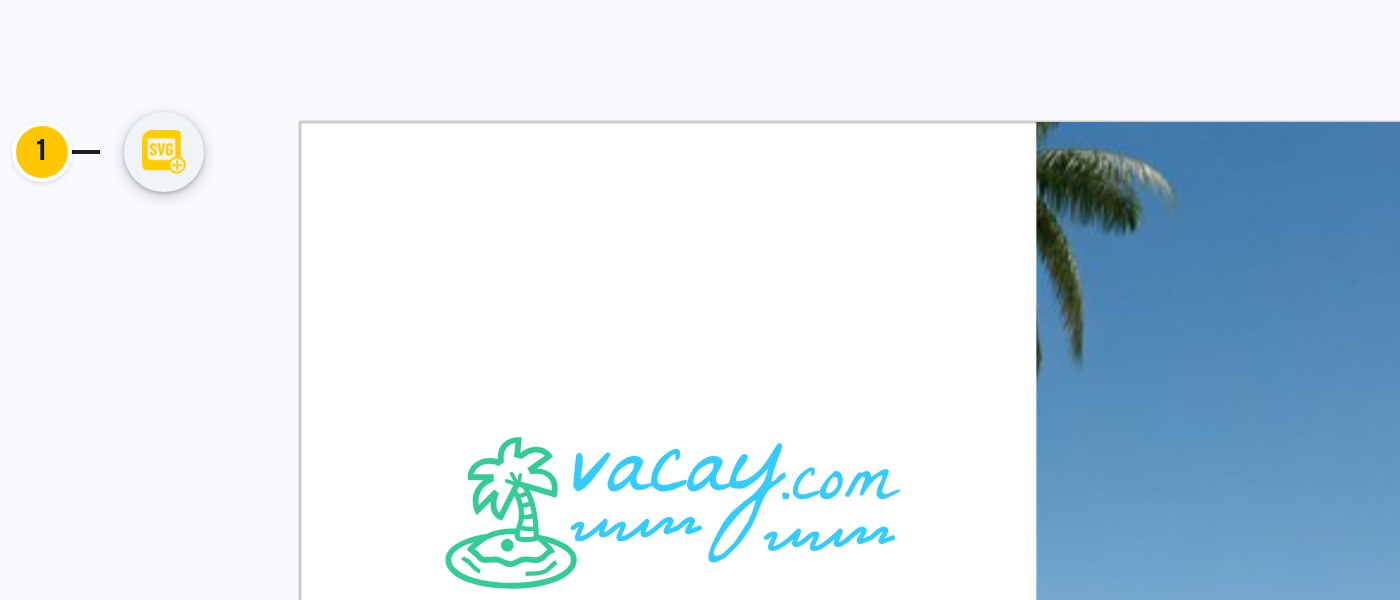
- 1The svgslid.es button. Click it, or press OPTION+\, to open the toolbar.
The toolbar starts closed. Once you open or close it, the extension remembers the state on this computer.
The toolbar, open#
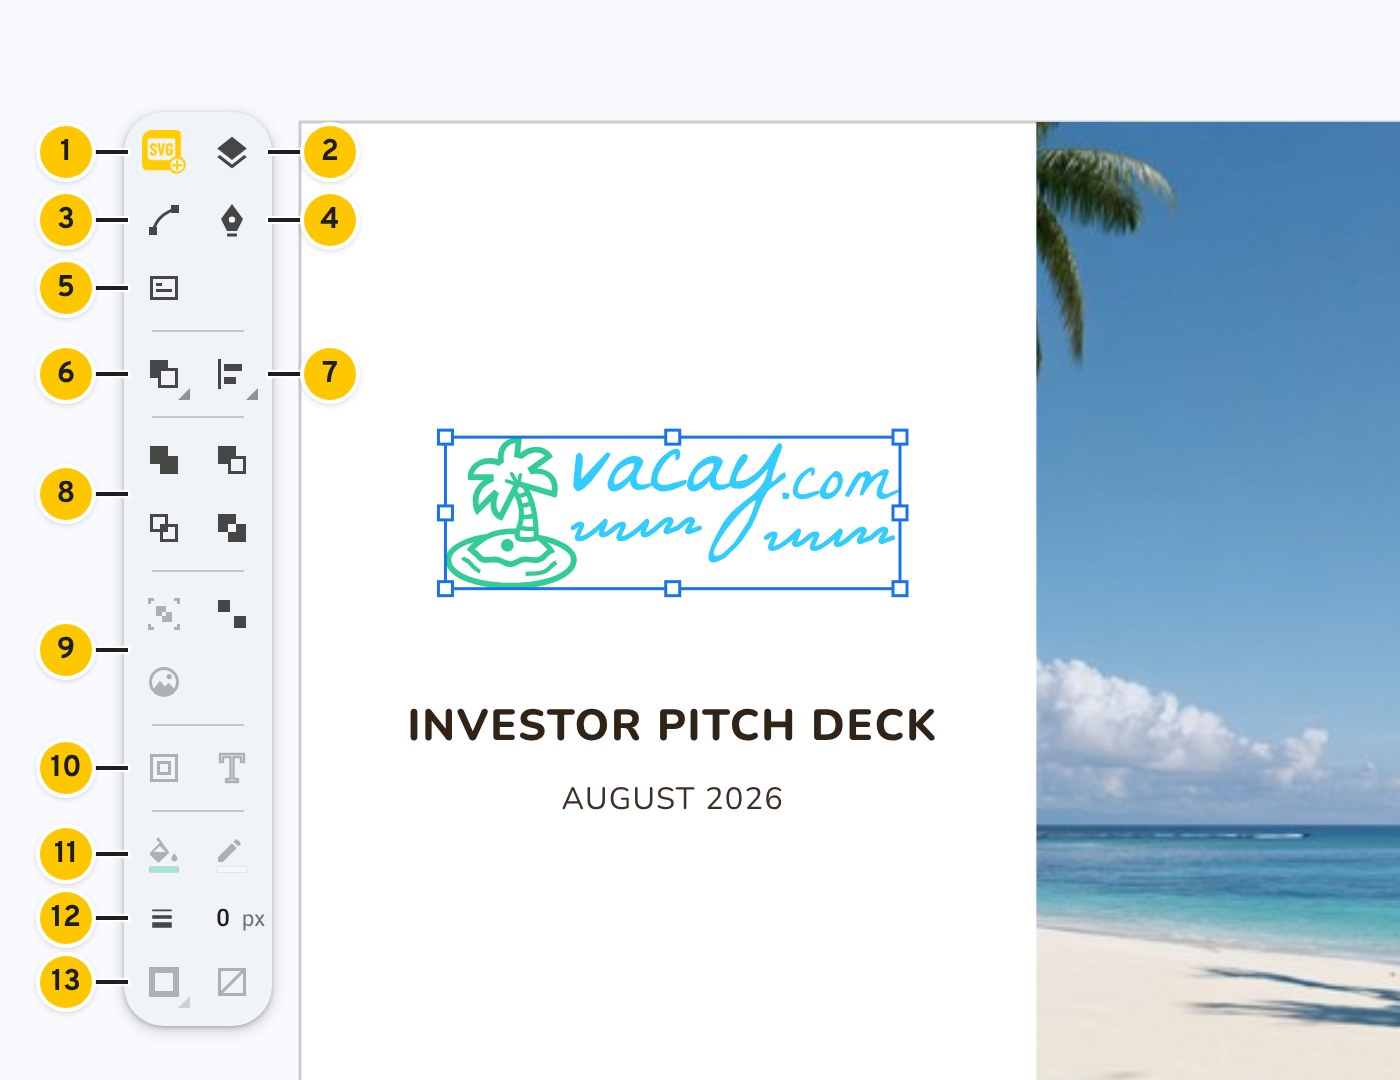
- 1svgslid.es button. Closes the toolbar.
- 2Layers. Opens the Layers panel.
- 3Edit Shape. Opens the point editor on the selection.
- 4Pen. Draws a new shape.
- 5Commands. Opens the command palette.
- 6Arrange. Bring forward, send backward, front, back.
- 7Align and distribute. See Aligning and distributing.
- 8Combine. Union, subtract, intersect, exclude. See Combining shapes.
- 9Group, Ungroup and Mask image with shape. See Masking an image.
- 10Outline stroke and Outline text. See Outlining strokes and text.
- 11Fill colour and Stroke colour.
- 12Stroke weight in pixels. Type a value. 0 means no stroke.
- 13Stroke position and Stroke on / off. See Fill, stroke and exact values.
| Section | Buttons | Shortcuts |
|---|---|---|
| Top | svgslid.es button, Layers, Edit Shape, Pen, Commands | OPTION+\, OPTION+1, double-click, OPTION+SHIFT+P, COMMAND+\ |
| Place | Arrange, Align and distribute | See Keyboard shortcuts |
| Combine | Union, Subtract, Intersect, Exclude | OPTION+SHIFT+U, OPTION+SHIFT+S, OPTION+SHIFT+I, OPTION+SHIFT+E |
| Group | Group, Ungroup, Mask image with shape | COMMAND+OPTION+G, SHIFT+COMMAND+OPTION+G, OPTION+SHIFT+K |
| Outline | Outline stroke, Outline text | OPTION+COMMAND+O, OPTION+COMMAND+T |
| Paint | Fill colour, Stroke colour, weight, Stroke position, Stroke on / off | OPTION+SHIFT+F, OPTION+SHIFT+L, OPTION+SHIFT+[ and OPTION+SHIFT+], OPTION+SHIFT+/ |
Tooltips#
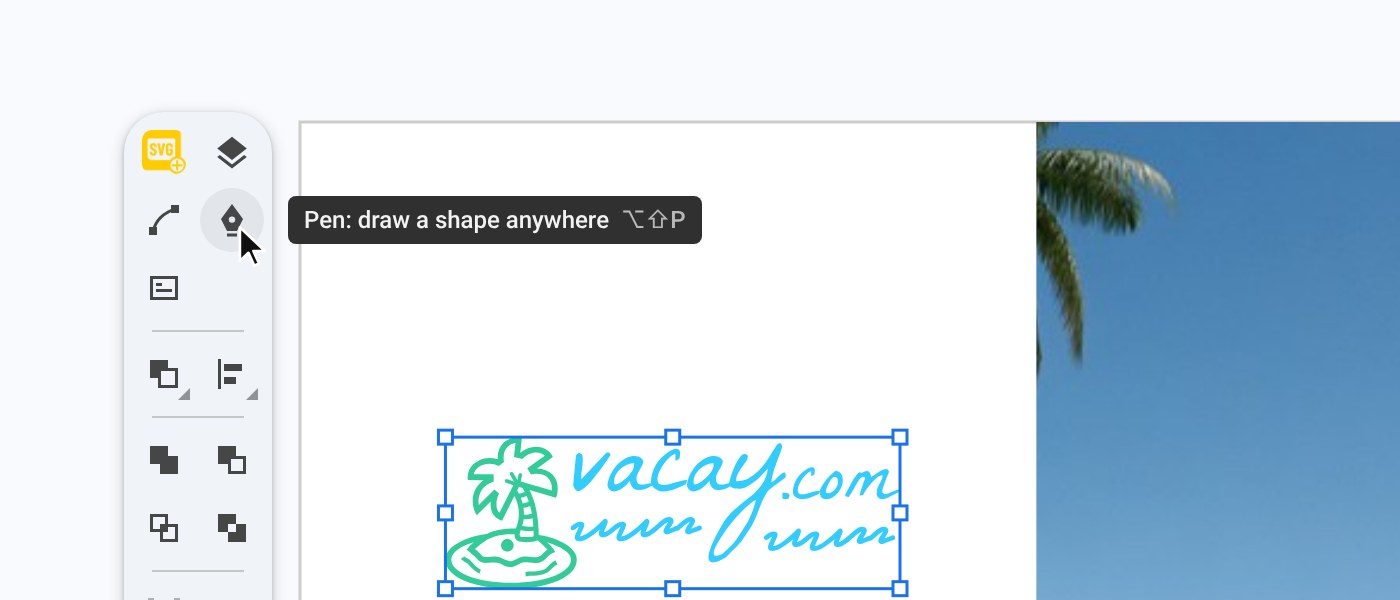
Point at any button, pop-out item or field to see its name and shortcut.
Pop-out menus#
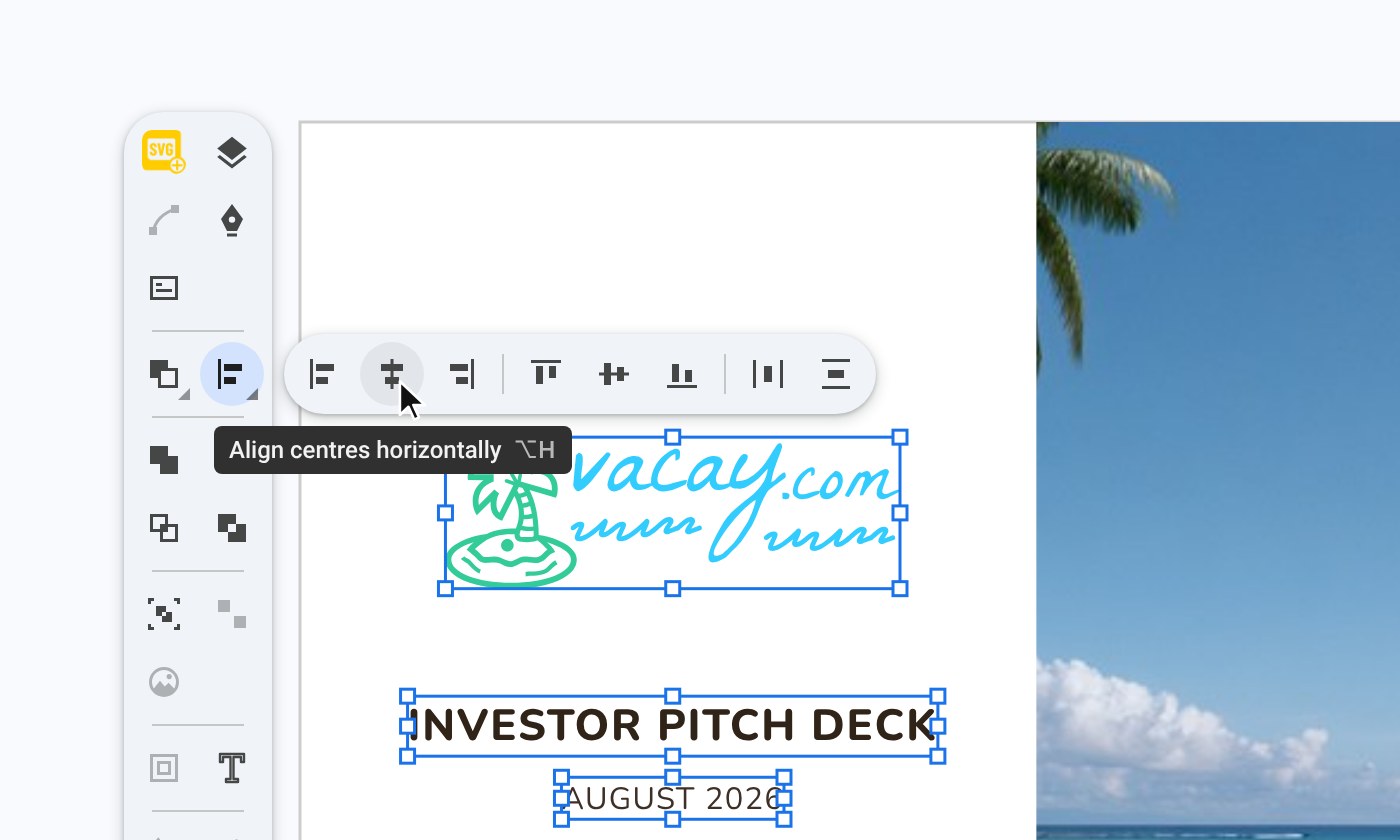
Buttons with a small mark in the corner open a row of commands beside the toolbar. Arrange, Align and distribute, and Stroke position work this way.
Dimmed buttons#
A button is dimmed when its command does not apply to what is selected. Outline text, for example, is dimmed unless the selection has text. Clicking a dimmed command shows a short message that says what to select.
Short screens#
When the canvas is too short for the whole toolbar, the Combine buttons fold into one pop-out button, then the Outline buttons do the same.
While a command runs#
While the extension carries out a command the toolbar ignores clicks and the pointer shows the progress cursor. This lasts a moment.
When the toolbar is hidden#
The toolbar is hidden while Edit Shape is open, because the editor has its own toolbar in the same place. It is also hidden in full-screen view.