SVG to Slides › Docs › Web Uploader and Add-on › Workspace Add-on
Web Uploader and Add-on · How to
Workspace Add-on
The information in this topic applies to:
- SVG to Slides Workspace Add-on for Google Slides
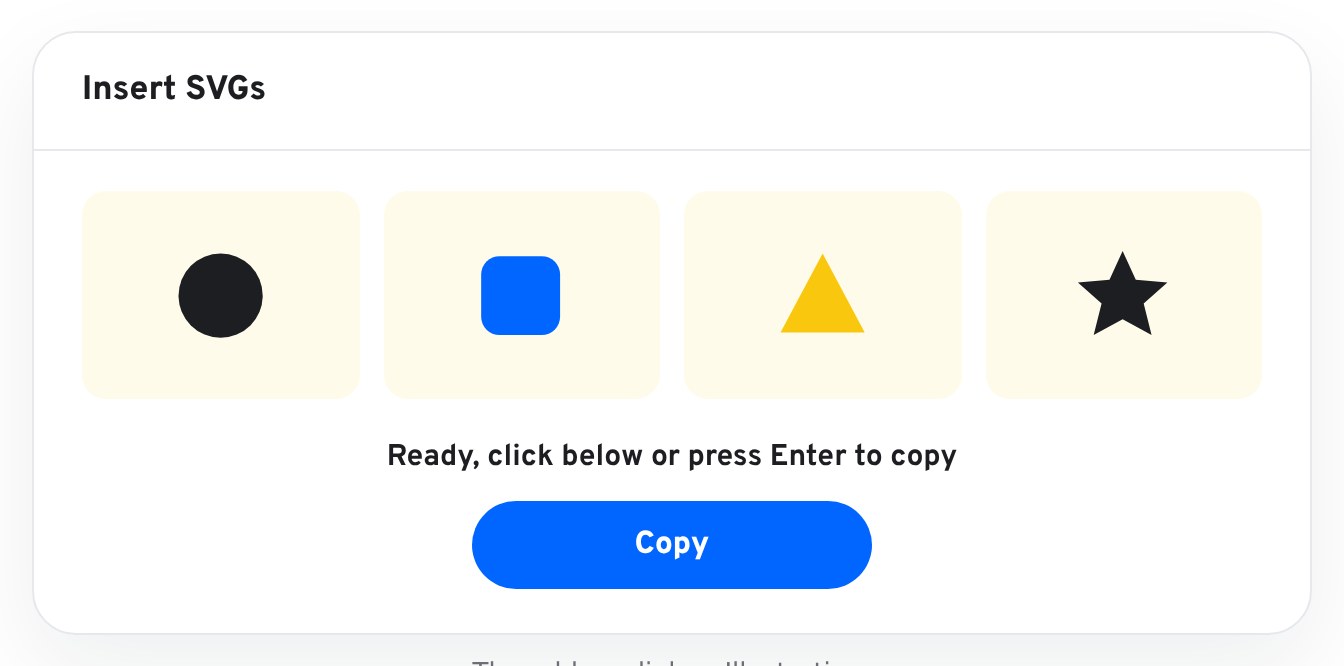
The add-on inserts SVG files from a dialog inside Google Slides. Pick your files, copy, and paste. Every path lands as a native shape on the slide you have open.
To insert SVG files with the add-on
- In Google Slides, choose Insert SVGs from the Extensions menu, or click the add-on’s icon in the side panel.
- Pick your .svg files. They convert as you select them.
- Click Copy, or press ENTER.
- Press COMMAND+V. The shapes land on the slide you have open.
Good to know#
- Select more than one file and they land side by side on the current slide.
- A gradient comes through as its first colour. For full gradients use the Web Uploader.
- The add-on is installed from the Google Workspace Marketplace: svgslid.es/addon.
What the add-on can access#
| Access | Used for |
|---|---|
| The current presentation’s page size | Sizing the inserted shapes to fit the slide. |
| Showing a dialog | The Insert SVGs dialog. |
| Calling the svgslid.es converter | Converting the files you select. |
The add-on has no access to Google Drive and does not read or change the content of your presentation through Google’s API. The shapes are written to your clipboard and you paste them. See Permissions and data.