SVG to Slides › Docs › User's Guide › Masking an image
Masking an image with a shape
- SVG to Slides Chrome extension, version 1.3.0
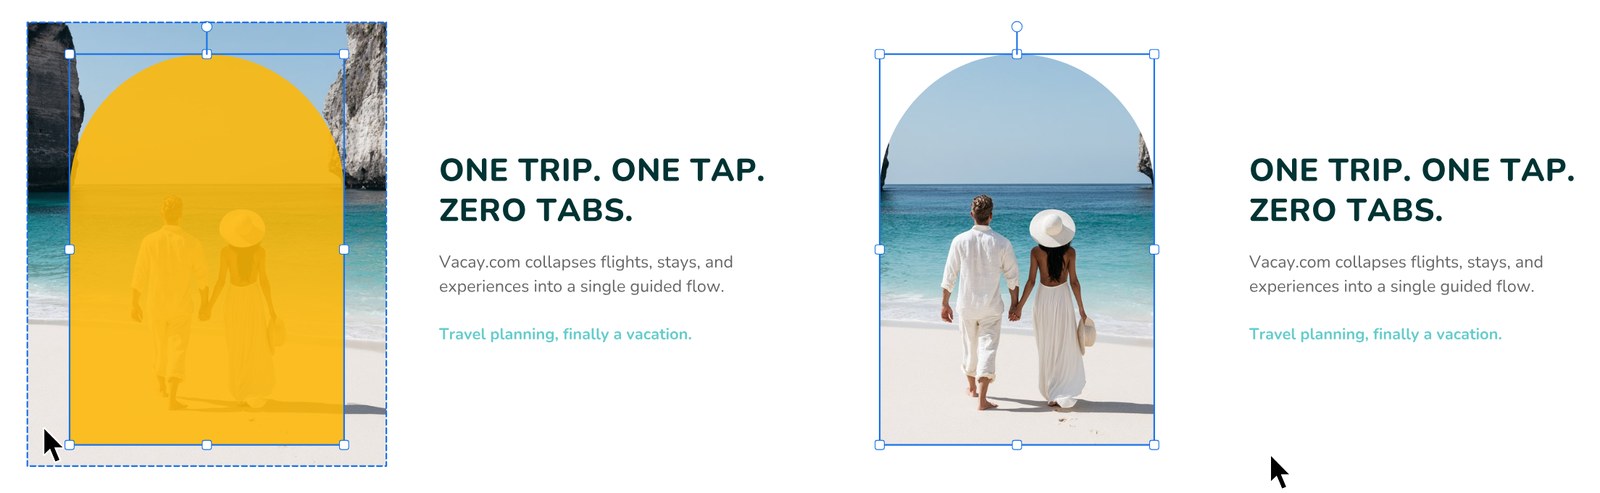
Put a shape over a picture, select both, and press OPTION+SHIFT+K. The shape cuts out the picture under it. Any shape or group of shapes can be the mask, and the picture stays exactly where it was.
To mask an image with a shape
- Place the shape over the picture, where the picture should show through.
- Select the picture and the shape. Click one, then SHIFT-click the other.
- Press OPTION+SHIFT+K, or click Mask image with shape in the Group section of the toolbar.
The picture is cut to the shape. It is neither stretched nor re-cropped, and the result takes the picture’s place in the stack. The change is one undo step.
Editing the mask afterwards#
Open the masked picture in Edit Shape: points and curves and move its points. The picture holds still while the outline changes. The editor draws the shape grey while you edit, and the picture returns when you click Done.
Requirements and limits#
| Condition | Result |
|---|---|
| The mask is a group of shapes | Works. The group counts as one mask. |
| The mask is text | Outline the text first with OPTION+COMMAND+T. See Outlining strokes and text. |
| The image is rotated | Not supported yet. Straighten the image first. |
| The shape is very thin | The extension reports that the shape is too thin to mask with. |
| More or fewer than two objects are selected | Select one image and one shape, or one image and one group. |
See PRB: Mask image with shape shows a message and does not mask for the messages and what each one means.